ABOUT ATT

Integration makes
every detail count.

From a single LED to a complete display module, ATT connects optical, mechanical and electronic design with manufacturing.

Display quality depends on the whole system.

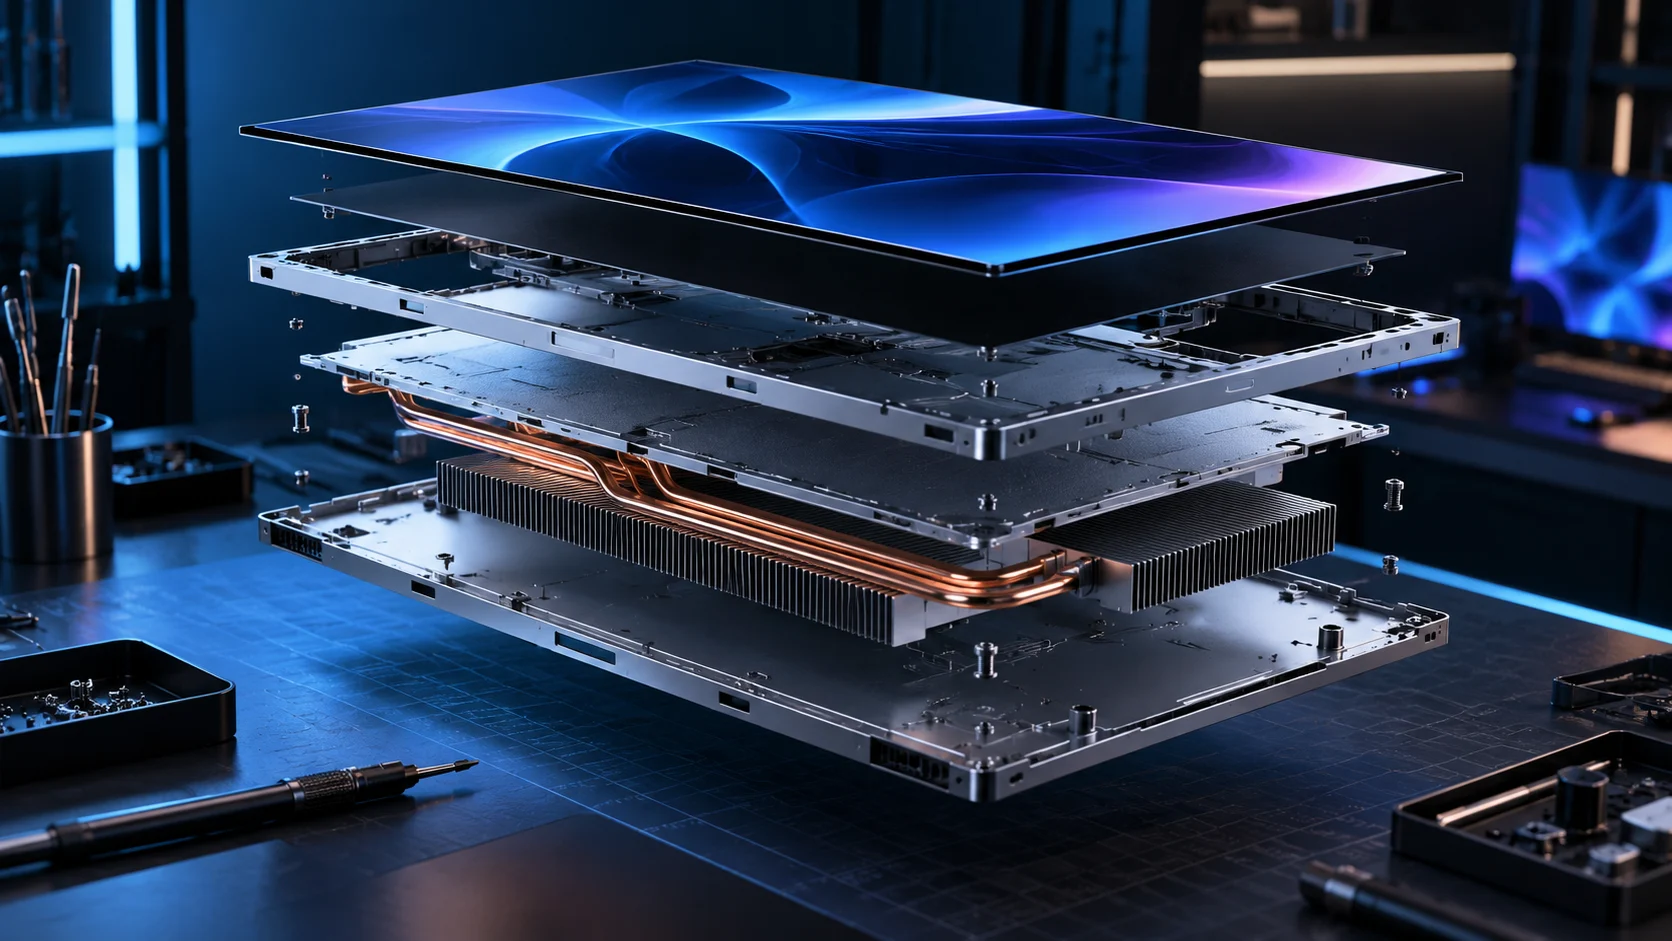
Concept of display housing and thermal structures
Original concept illustration

Optical design affects light utilization and uniformity. Mechanical design shapes thickness, cooling and assembly. Electronics determine how the backlight responds to content. We address these conditions together from the beginning to reduce interface gaps and align the module with the final product.

Our team’s experience spans TFT, backlight modules, optical R&D, control algorithms, tooling and module assembly. Combined with supply chain resources, this supports our design, integration and manufacturing services. We value consistency between requirements, drawings and samples. Staged reviews clarify design constraints and items still requiring validation, helping customers understand why a revision is proposed and what the next evaluation should confirm.

01

Optical

Light sources, optical films and mixing structures determine how efficiently light is used. Review luminance distribution, edge behavior and film compatibility under representative viewing conditions, connecting local design decisions to full-display appearance.

02

Mechanical

Module thickness, structure and thermal design make the display fit the product. Confirm mounting, frame tolerances and cable exits, then review support and thermal conditions inside the equipment.

03

Electrical

LED drivers, power architecture and zone control make the backlight respond to the image. Coordinate power, control timing and channel allocation with the system board, then assess brightness response using actual content.

BRAND ARCHITECTURE

One company. Clearly defined brands.

ATT

Corporate brand

Attractive Marketing Technology Co., LTD., responsible for solution design, integration and manufacturing.

LumiPi

Product brand

The brand used for products manufactured by ATT.

Lumi Crystal

Solution family

Backlight and optical design, with related control and integration solutions.

GoX RGB LED

GoX RGB LED

RGB backlight component

An RGB backlight component within the Lumi Crystal family.

DESIGN TO MANUFACTURING

A path from requirements to integration.

Concept of collaborative display engineering
Original concept illustration
01

Define

Establish application, size, brightness, power, thickness and environmental requirements. Identify mandatory and flexible items to establish the priorities used when selecting an approach.

02

Co-design

Coordinate optics, mechanics, drivers, control and panel interfaces. Review interfaces and available space, identifying which parts may be affected by a design revision.

03

Prototype & validate

Evaluate image performance, electrical behavior and structure against agreed conditions. Prepare representative content and installation conditions to give sample comparisons a shared basis.

04

Manufacture & integrate

Connect module assembly, touch bonding and project production requirements. Discuss delivery scope against confirmed drawings and conditions, connecting the module with customer assembly.

BEHIND THE DESIGN

Integration starts with clearly defined interfaces.

Display development spans materials, circuits, mechanics and processes. Defining the boundaries between subsystems early helps turn product requirements into module designs that can be discussed, evaluated and integrated.

01

Establish a common design brief

A useful brief includes the application, display size, active area, resolution, interface, brightness, power and thickness limits. Appearance drawings, mounting methods, cable exits and touch requirements also belong in early discussions. For undecided items, state acceptable ranges and priorities so that a single specification does not obscure the complete product goal.

ATT starts design discussions with the product requirements, giving optics, mechanics and electronic control the same set of assumptions. When one condition changes, its effect on other parts of the design can be reviewed.

02

Connect development with assembly

Moving from drawings to samples means reviewing tolerances, material combinations, connections and assembly order. Cover-to-frame height differences, cooling space, FPC bends and connector locations can affect later integration. A joint review of these details makes sample assessment more representative of the installed product.

Design changes should identify the revision, reason for the change and items requiring renewed confirmation. This helps customers, designers and manufacturing participants maintain a consistent basis for communication.

03

Define the conditions behind each target

Display appearance, electrical function and environmental performance need their own test conditions. Brightness measurements should state content, settings and measurement locations. Touch evaluation should define operation, cover construction and power conditions. Environmental tests should specify temperature, duration and acceptance criteria appropriate to the use.

Evaluation can be staged to suit project development. Customer standards, internal requirements or nominated test organizations should be raised early, with sample, testing and documentation responsibilities defined.

04

Connect solutions and products through clear brand roles

ATT is the corporate brand responsible for design, integration and manufacturing. Lumi Crystal is the backlight and optical solution family; GoX RGB LED is an RGB backlight component within that family. LumiPi is the brand used for products manufactured by ATT. These roles give technology and product discussions a clear structure.

A project can begin with a backlight component, an optical improvement or a complete touch-display module. Supply scope, deliverables and development arrangements are confirmed around the project requirements.

QUESTIONS & ANSWERS

Before starting a project.

Do I need a complete specification first?

A complete specification is not required before an initial discussion. Start with the product's purpose, the people who will use it, and the problem the display must solve. An indoor control panel, a sunlit outdoor terminal and a night-time cockpit can require very different viewing and operating conditions. Describe those conditions before choosing brightness, touch or optical treatments; this gives each eventual specification a practical reason.

Separate requirements into mandatory limits, preferred targets and open questions. Mandatory limits might include the enclosure, active area, existing motherboard interface or available power. Preferred targets might include reduced thickness, lower weight or improved dark-scene readability. Where targets conflict, identify priorities and acceptable ranges so that engineering effort is directed toward the most valuable improvement.

Useful starting information includes an outline drawing, mounting points, cable exits, panel or motherboard details, photographs and representative interface screens. A dimensioned sketch can support an early conversation, but it does not replace a controlled manufacturing drawing. For touch and bonding, describe the cover material, gloves, cleaning method and whether the existing display frame must remain.

The first useful outcome is a requirement summary, a shortlist of feasible directions and a list of missing information with responsibilities. Record provisional assumptions separately from approved specifications. Early cost, timing and performance estimates should state their basis and be refined as materials, geometry and testing become clearer.

Send ATT a shareable project overview, target milestones and the three most important constraints. If you already have a module, include its identity and the conditions under which the problem occurs. The actual supply scope, engineering work and verification responsibilities are confirmed for the project; a website description does not replace agreed deliverables.

Can the discussion start with an existing module?

An improvement project can begin with an existing module. First describe the observed problem rather than selecting a replacement component immediately. Poor sunlight readability, halos around bright text, changes after warm-up and unstable touch positions can involve different parts of the system. A photograph or a single specification is rarely enough to determine whether the panel, backlight, controller or installation needs to change.

Preserve a reference configuration. Record module and motherboard versions, backlight settings, power conditions, displayed content and operating time. Keep photographic exposure and viewing angle consistent where possible; measurements should identify positions, instruments and environment. If the issue appears only inside the enclosure, include mounting, grounding, cable routing and thermal space.

List interfaces that must remain unchanged, such as mounting holes, connectors, software or the scope covered by existing product evidence. A film change can require renewed optical checks; increased drive current requires power and thermal review; bonding can affect height, tolerances and touch settings. A small change in one subsystem can influence functions that previously worked correctly.

Compare the original and modified sample under the same conditions, controlling major variables where practical. When several changes are necessary, retain a configuration record and explain each change. Check for new trade-offs as well as improvement: power, temperature, edge appearance, colour, touch behaviour and mechanical interference all deserve attention where relevant.

Provide ATT with the existing specification, representative samples and a concise problem log. The next step is to agree what can remain, what must change and what the next sample must demonstrate. Existing test conclusions should be reviewed against the modification scope. Direct replacement, improvement magnitude, cost and delivery timing depend on the actual module and project evidence.


How is the development schedule established?

A credible schedule starts with the deliverable and its dependencies. Integrating an existing panel and frame is different from developing new tooling, electronics or a custom touch sensor. Separate concept samples, functional prototypes, design-verification samples and production deliveries. Completion of one stage does not mean that every requirement of the final product has been confirmed.

Requirement approval is an early milestone. Panel choice, interface, brightness, mechanical design, power and operating conditions should either be confirmed or recorded as explicit assumptions. Open items need an owner and an expected decision date. Unconfirmed cover printing can affect fabrication, while an unresolved motherboard interface can delay bring-up and integration.

Material availability also matters. Review panel, driver, film, adhesive and connector sourcing, including custom parts and proposed alternatives. Planning information is not a guaranteed delivery date. If an available substitute is used for a concept sample, document how it differs from the intended design and which conclusions must be checked again later.

Design reviews should establish drawing versions, interface definitions and the point at which a sample configuration is released. Subsequent changes remain possible, but their effects on rework, materials and verification must be assessed. Parallel optical, electrical and mechanical work requires active tracking of shared dimensions and settings.

Testing needs a defined allocation rather than an unspecified final step. Agree sample quantities, conditions, responsibilities, reports and the process for resolving failures. Module checks and final enclosure integration may need separate milestones. Give ATT your launch target, demonstration dates, quantities and flexibility so a project-specific plan can be discussed. Final timing depends on confirmed scope, sourcing and agreed verification; no universal development duration is implied.

LET’S BUILD YOUR NEXT DISPLAY

Your display challenge.
Our integrated approach.

Tell us about the application, target size and key specifications. Let’s turn requirements into the next design step.

Discuss your project